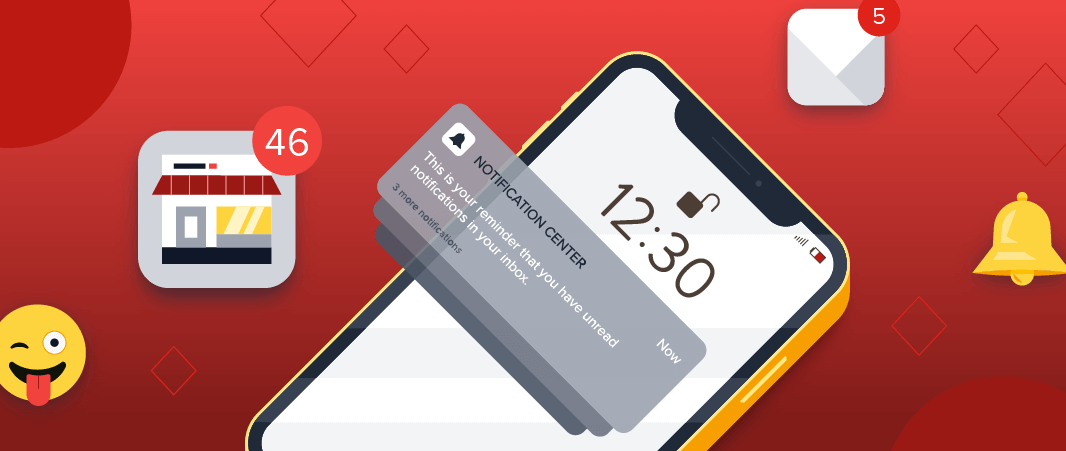
Imagine having a powerful tool at your disposal that allows you to send automated notifications to your users in real-time. Whether you want to notify them about important updates, new features, or critical information, having a reliable notifier system in place is essential. That’s where Pushr comes in. In this article, we will explore the process of adding and configuring notifiers in Pushr, unlocking the full potential of this versatile platform.
Pushr is a cutting-edge notification platform designed to streamline your communication efforts with users. It provides a seamless way to send notifications across multiple channels, including web push, email, SMS, and more. With Pushr, you can automate your notification workflows and reach your audience in real-time, enhancing user engagement and improving overall user experience.
Understanding Notifiers
What are notifiers?
Notifiers in Pushr are the building blocks of your notification strategy. They define the content, delivery channels, and target audience for your notifications. By creating and configuring notifiers, you can effectively manage your communication with users, ensuring that the right message reaches the right people at the right time.
Why are notifiers important?
Notifiers offer flexibility and control over your notification campaigns. They allow you to tailor your messages according to specific events or user actions. With notifiers, you can trigger notifications based on user sign-ups, purchases, or any other desired actions, keeping your users informed and engaged with your platform.
Adding Notifiers in Pushr
Step 1: Accessing the Pushr Dashboard
To begin adding notifiers in Pushr, log in to your Pushr account and access the dashboard. If you don’t have an account yet, you can sign up for a free trial on the Pushr website.
Step 2: Creating a New Notifier
Once you’re on the Pushr dashboard, navigate to the “Notifiers” section and click on the “Create New Notifier” button. Give your notifier a descriptive name that reflects its purpose.
Step 3: Choosing the Notification Type
In this step, you’ll select the type of notification you want to send. Pushr supports various notification types, including web push, email, SMS, in-app, and more. Choose the one that aligns with your communication goals.
Step 4: Configuring the Notifier Settings
Now it’s time to configure the settings for your notifier. Depending on the notification type you selected, you may need to provide specific details such as the title, message, image, URL, and other relevant parameters. Customize these settings to fit your notification content and objectives.
Step 5: Testing the Notifier
Before activating your notifier, it’s crucial to test its functionality. Pushr allows you to send test notifications to yourself or a selected group of recipients to ensure everything is working correctly. Verify that the notification appears as intended and contains the correct information.
Configuring Notifiers in Pushr
Customizing Notification Templates
Pushr offers a range of customizable notification templates to help you create visually appealing and engaging messages. You can modify these templates to match your brand’s aesthetics and tone, ensuring consistent and recognizable communication with your users.
Setting up Delivery Channels
With Pushr, you have the freedom to choose the most effective delivery channels for your notifications. Depending on your audience’s preferences and your communication objectives, you can enable web push, email, SMS, or other channels to reach your users seamlessly.
Defining Target Audiences
Targeting the right audience is crucial for effective communication. Pushr allows you to segment your user base based on various criteria such as demographics, behavior, preferences, or custom attributes. By defining target audiences, you can ensure that your notifications reach the intended recipients, increasing their relevance and impact.
Enabling Scheduling Options
Timing is essential when it comes to notifications. Pushr enables you to schedule your notifications in advance, ensuring they are delivered at the optimal time for maximum impact. Take advantage of scheduling options to reach your audience when they are most likely to engage with your messages.
Best Practices for Notifier Configuration
Keep the Message Concise and Relevant
When crafting your notifications, it’s essential to keep the message concise and focused. Users appreciate clear and to-the-point notifications that provide value without overwhelming them with excessive information. Make sure your message is relevant to the recipient and addresses their needs or interests.
Personalize Notifications
Personalization adds a touch of uniqueness to your notifications. Utilize user data to personalize your messages, such as including the recipient’s name or referencing their previous interactions with your platform. Personalized notifications create a sense of connection and increase user engagement.
Optimize for Different Devices
In today’s multi-device landscape, it’s crucial to optimize your notifications for various platforms and screen sizes. Ensure that your notifications are responsive and display correctly on desktop, mobile, and tablet devices. By providing a seamless user experience across devices, you enhance the chances of user interaction.
Monitor and Analyze Notification Performance
To continuously improve your notification strategy, it’s important to monitor and analyze the performance of your notifiers. Track metrics such as open rates, click-through rates, and conversion rates to gain insights into user behavior and preferences. Use this data to refine your messaging and optimize your future notifications.
Conclusion
In conclusion, adding and configuring notifiers in Pushr opens up a world of possibilities for enhancing your user communication. By following the outlined steps and best practices, you can create personalized, timely, and engaging notifications that keep your users informed and connected. Embrace the power of Pushr and unlock the full potential of your notification strategy.